Signs By The Bay Blog — DIY
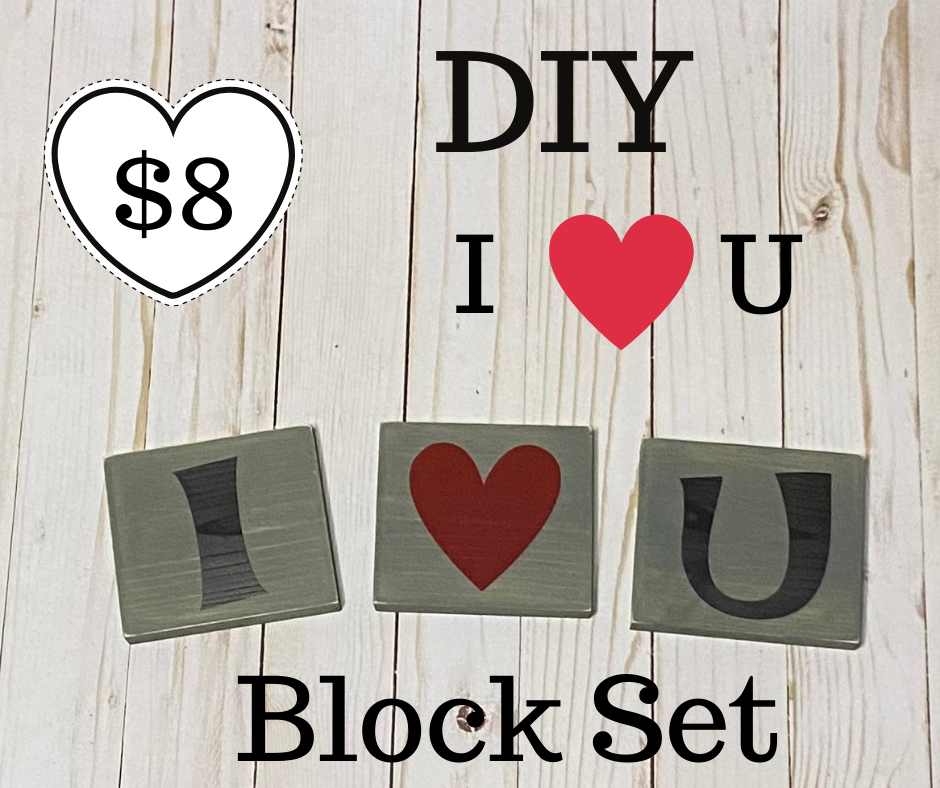
DIY I ❤️ U Block Set
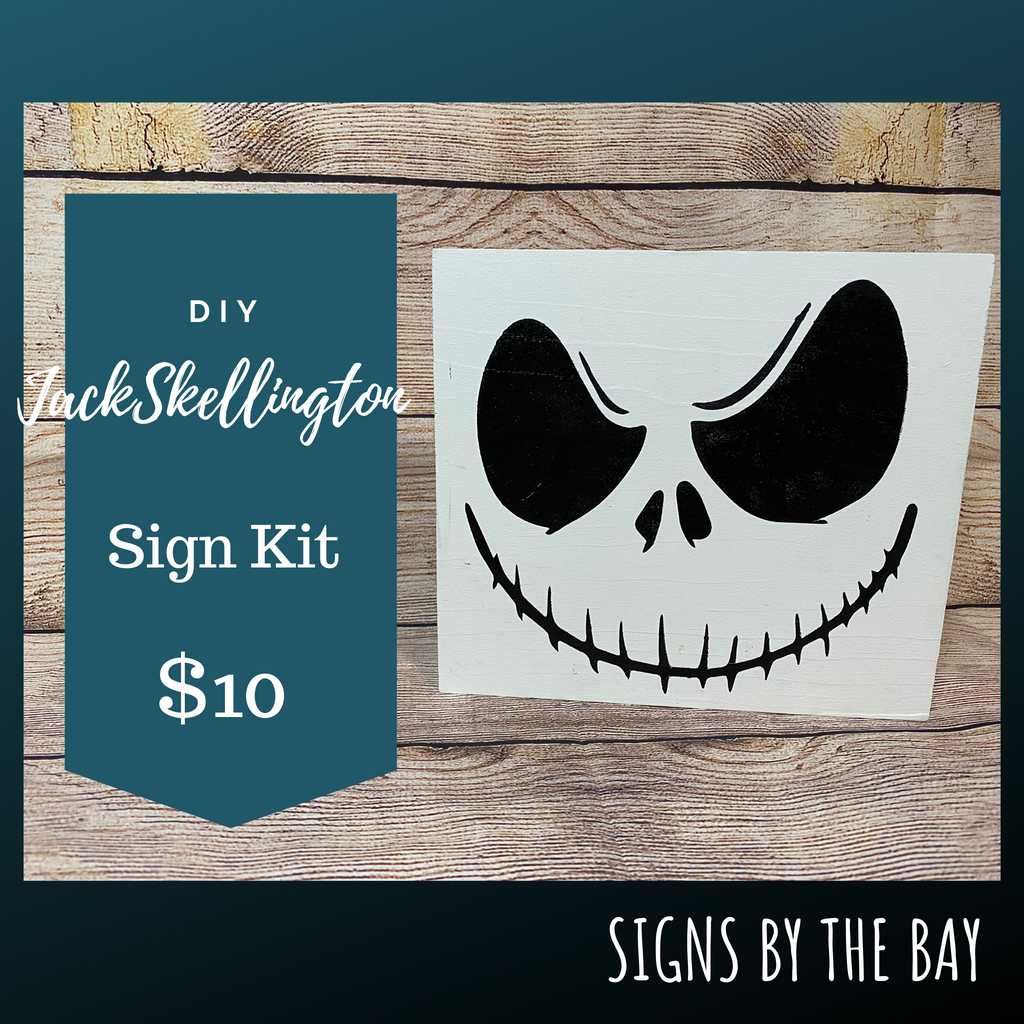
DIY Jack Skellington Sign Kit
art DIY halloween jack Skellington kid kits sign kits
You will receive an 8x8 wood sign 1 foam brush 1 foam wedge white & black paint sawtooth hanger vinyl design Instructions Use the foam brush to paint the sign white..let dry in between coats when dry turn your sign over use a hammer to nail the sawtooth hanger to the top back of the sign (optional) Turn your sign over to the front and you are ready for the vinyl design carefully peel the vinyl design off the backing and adhere to the center of the sign board..press down to smooth out all air bubbles carefully peel back the...
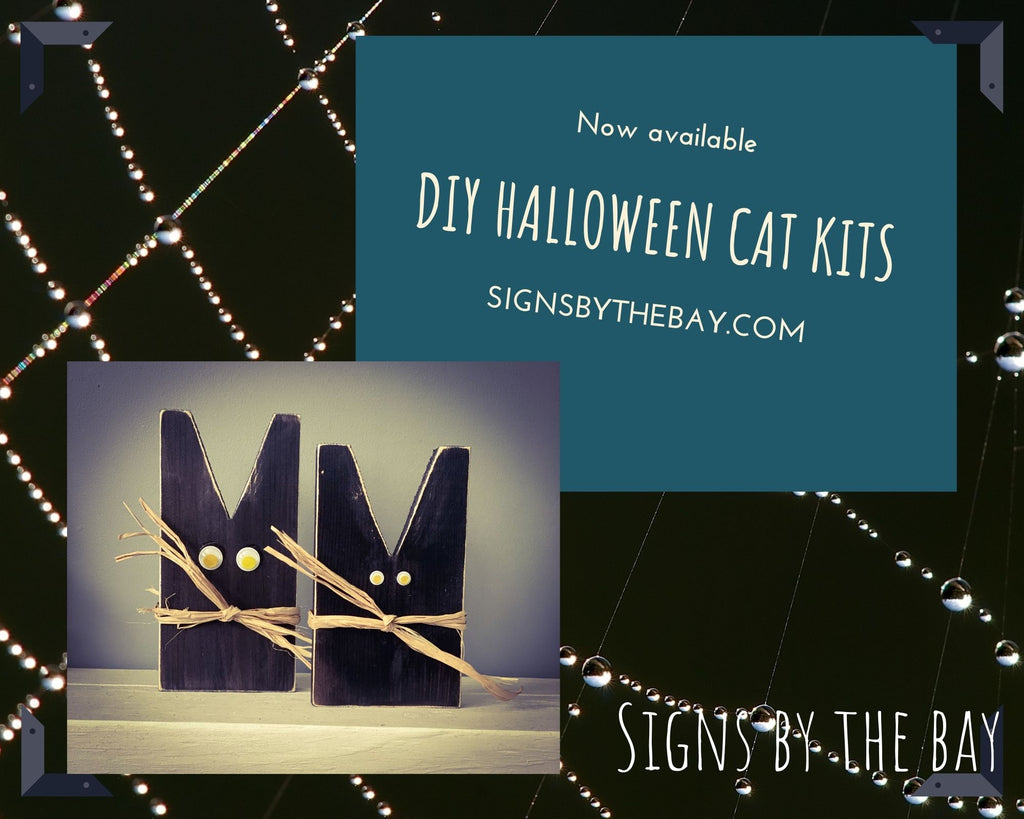
DIY Halloween Cats
black cats DIY DIY Kits halloween Sign kits
DIY: children/teen/adult You will receive: large and small wood cat shapes black paint foam brush 4 google eyes (various colors) wood glue wood stick (for applying glue) raffia sandpaper INSTRUCTIONS Open your kit and lay all contents on a table Carefully slide the raffia off of each cat. Use the sandpaper to sand off any rough edges on the wood. Use the foam brush in the black paint to paint the wood cats..start with the edges first then lay flat to paint the front of the cats. Let it dry completely, apply second coat if needed. When dry use the sandpaper to distress...
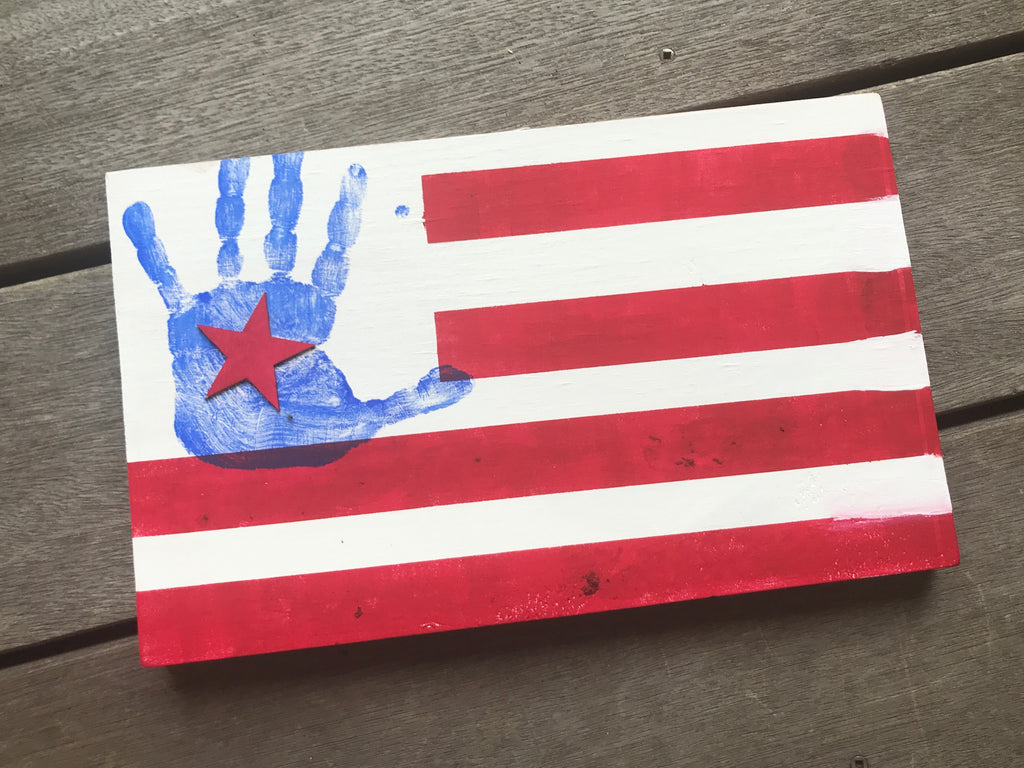
Handprint Flag DIY KIT
4th of july DIY DIY Kits flag handprint Kids craft paint Sign kits
HANDPRINT FLAG DIY KIT Base coat your sign with white paint with the foam brush, start with the edges first then fill in the front of the sign with your paint. Let it dry completely, apply a second coat if needed. Take the wood stick to rub down the front of the vinyl stencil to make sure the image will stick to the clear tape. Carefully peal the clear transfer tape off backing making sure the image is stuck to the tape. Stick your stencil image on your board, use the wood stick to rub the vinyl...
I've Got Sunshine DIY Sign Kit
art DIY DIY Kits paint Sign kits
I've Got Sunshine DIY Sign Kit Instructions Paint your background with the foam brush. If using the blended color/ombre method, start with your darkest color on one end and brush back and forth until paint is distributed. The move up the board and paint your middle color, grabbing some from the first color and mixing it in a bit with the second to get the 'seams' to blend. Continue with the third color using the same brush and just keep going back anf forth until you get a nice mix. Feel free to add more paint if desired to get...

